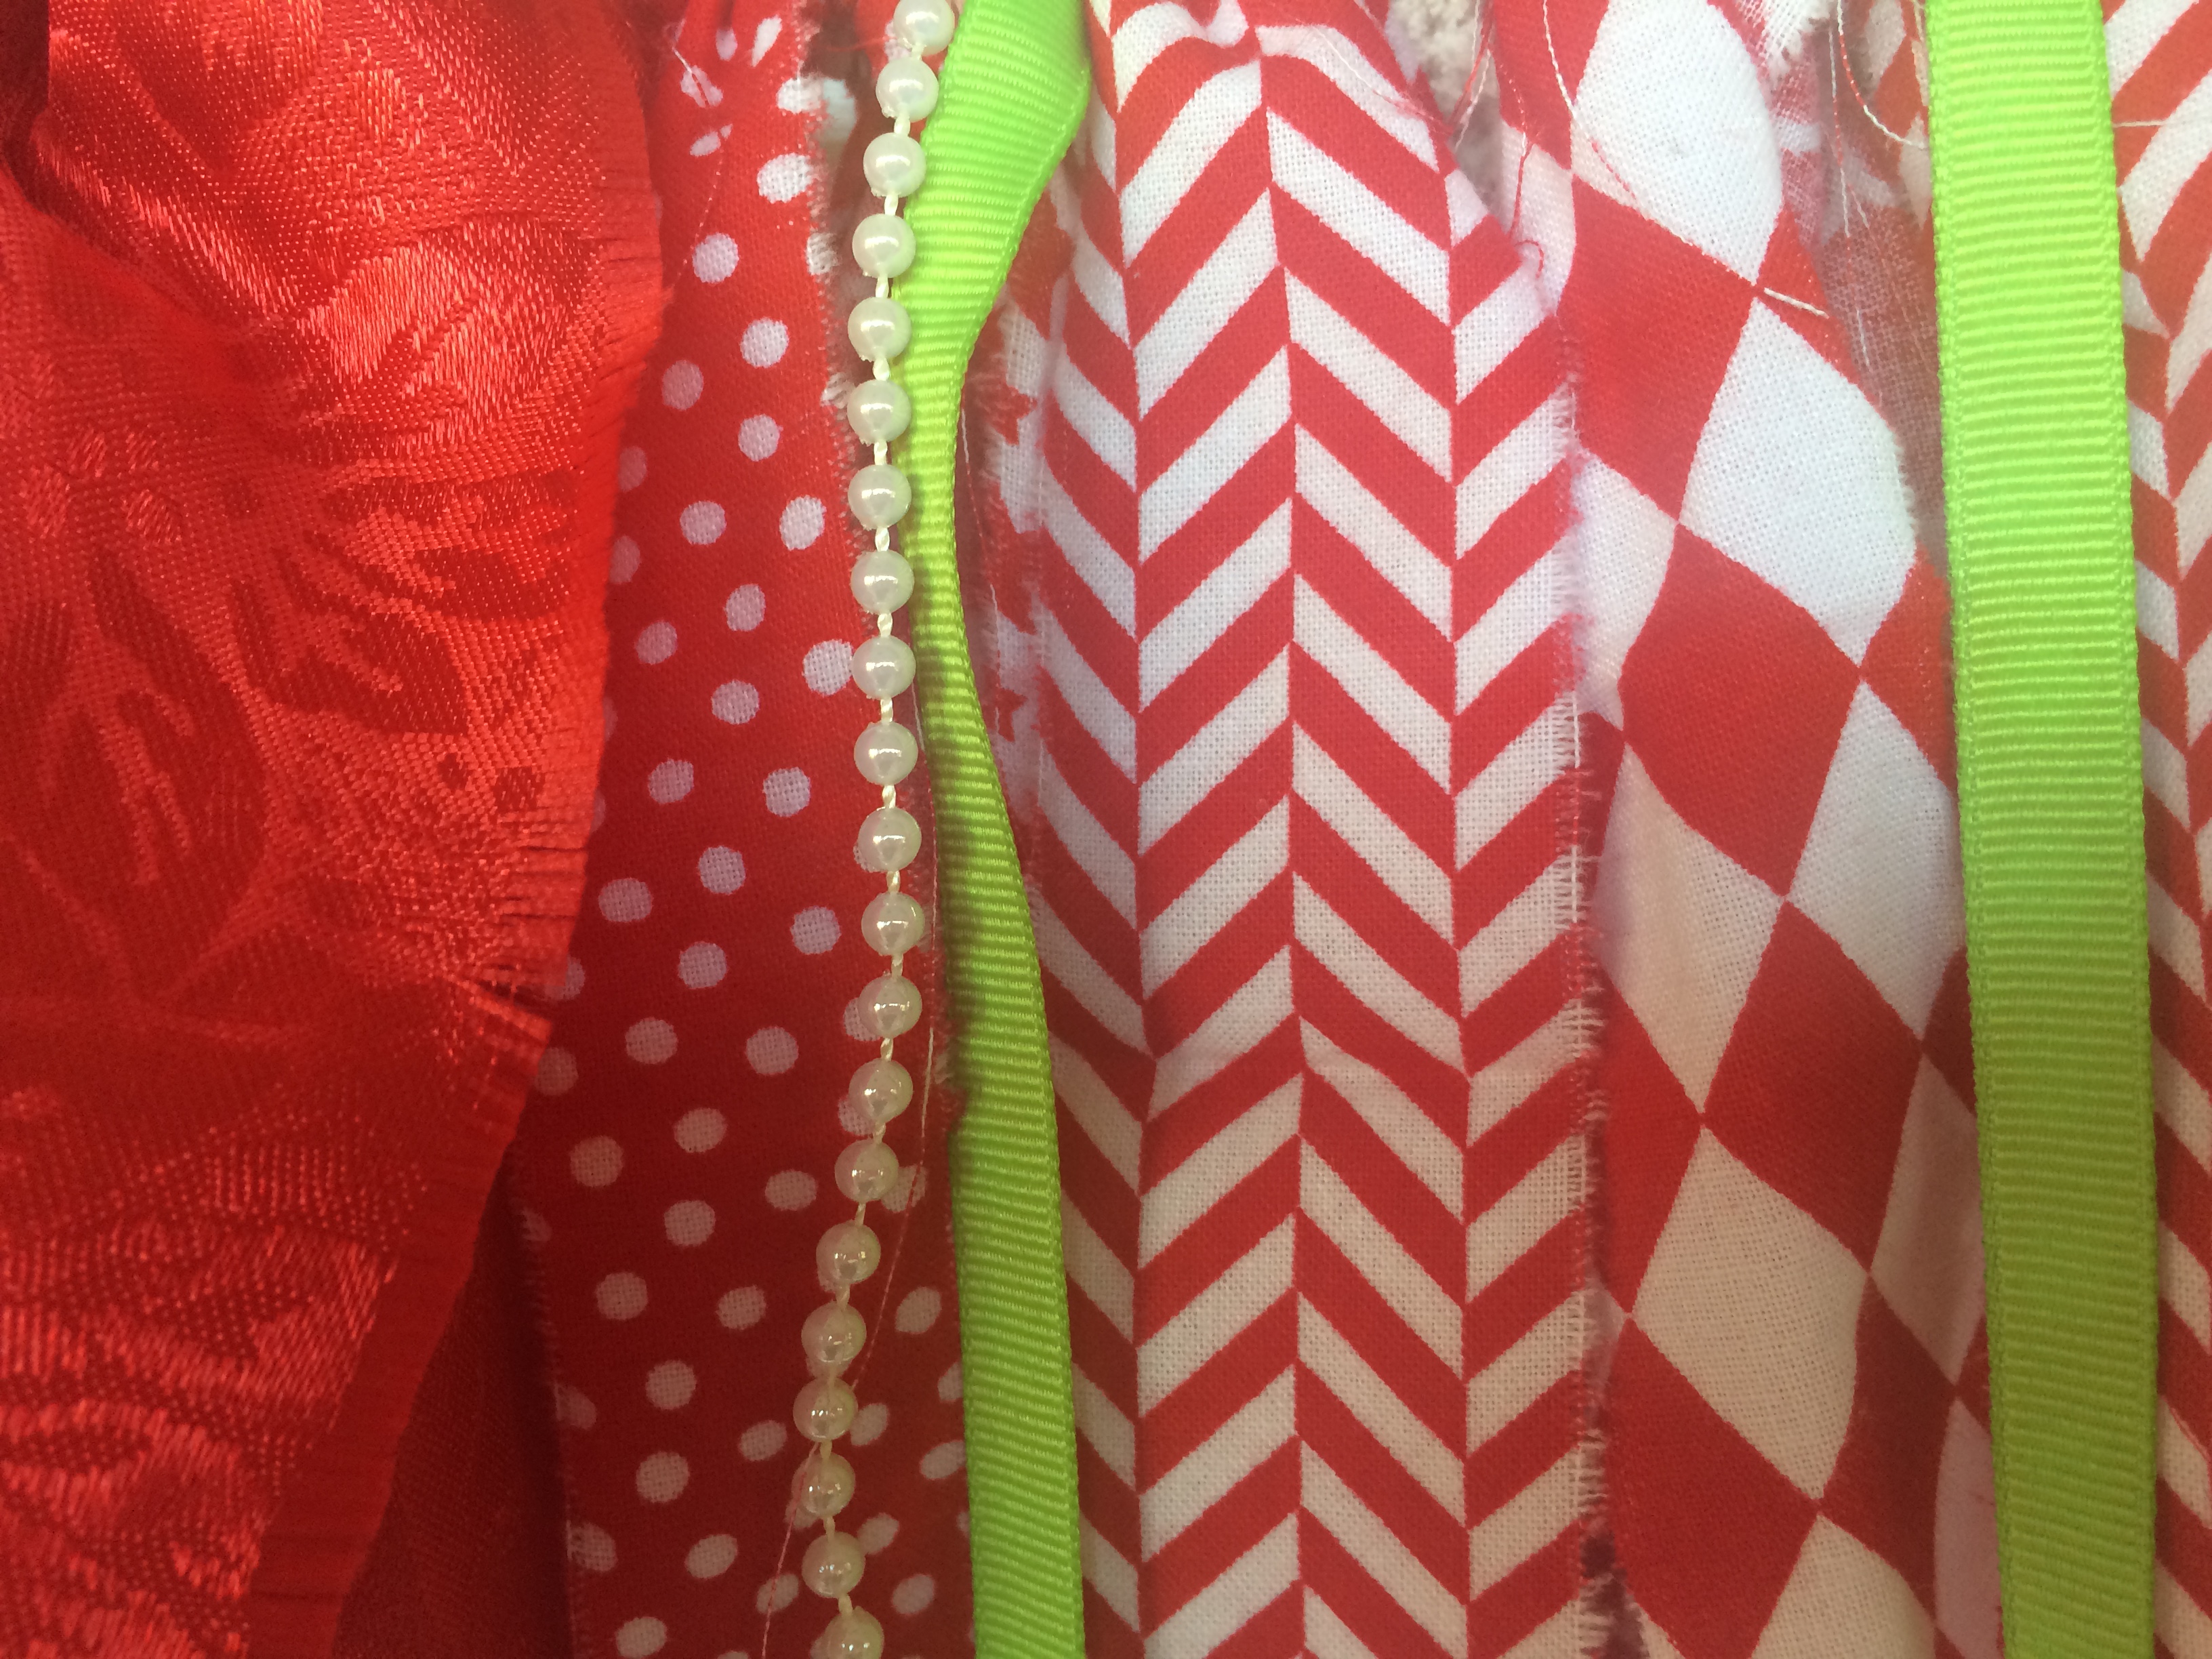
Using a mixture of colors and textures gives your garland a depth and richness.
Rag garlands have become all the rage lately. They are easy to make, you don’t have to sew a stitch and they add texture and color to your décor.
You can make them out of just about any kind of material you can think of: silk, cotton, linen, denim, tulle and many other materials, including ribbon, yarn, beads, buttons, rick-rack and old jewelry – the possibilities are endless.
I saw one at a wedding and instantly fell in love with the simplicity and the richness of the combined fabrics. When I realized that I wouldn’t have to sew, I was sold on the project!
You can start with any kind of material, but the most economical and something you probably have on hand, are old sheets. Mine came from a yard sale – a queen size set for less than $4, and the original one I so admired came mostly from consignment shops.
“You can find sheets there for a very reasonable price,” said my new crafty friend, April Williams.
The sheets I started with were beige. Since it will be used throughout the year, I wanted something neutral. This is how easy it is to give your mantle a new look, your table a new skirt, your window a new treatment, or your bed a new canopy.
Start with an old sheet, cut the corners with the elastic away, you don’t even have to do it neatly, just snip until it comes away from the sheet. Then, starting at the longest side, tear one long strip about 3 inches wide, the entire length of the sheet. This is the base on which all of the other strips will be tied. If you start it with the scissors it should easily rip the rest of the way. (This turns into really good therapy, too, lol) Tie several big knots at each end to keep your other pieces from slipping. You can also use a clothes pin at the point of each end knot. You will remove this when you are finished.
Next, because you don’t want your other strips to be that long, cut the sheet in half, lengthwise.
The width of the strip you are holding now should be about the length of the tip of your fingers to your shoulder. If it’s not exactly that, don’t worry, you can always snip the ends later.
Go down the length of your half-sheet, scoring it about an inch deep, and about 2-3 inches apart. This will determine the width of your strips; you might want them a little larger or smaller. I staggered mine, making some 1 inch, others anywhere from 2 to 3 inches. It depends on how OCD you are, ha!
Now simply start at one end and tie the shorter strip to the base strip so that each dangling end is even, with the knot in the center.
Repeat, repeat, repeat, etc.
You’ll begin to see it taking shape about mid-way.
When you have gotten to the opposite end, your knots should be roughly in the same position. I tied mine over a wide double doorway; a friend tied hers between two chairs.
I had to reach, she had to either sit or bend. You can do this sitting down with it in your lap, but it’s more complicated. Just be comfortable. This is fun once you get going.
Now, you’ve probably used most of your base color, so you want something that compliments it, but also contrasts with it. I chose brown, finding a 2×2 foot square at a discount store. It was the same material, soft cotton, so it looked good with the first color. You can choose from all the colors in the rainbow…pink and white, light blue and navy, red and green for the holidays; you are only limited by your imagination.
When the brown was added, I could really see it taking shape, but it needed other textures and patterns, so I added brown ribbon trimmed in gold, tan ribbon with gold polka dots, strings of gold Mardi Gras beads because I had them on hand, but later I found some smaller ones at a craft store and added them, as well.
Add these other materials at random up and down the length of your garland.
Lace really added a punch when placed with the other smooth material, so I added several lengths of different patterned lace, in white and ecru. Old tablecloths or curtains work wonderfully for this, or just ribbon on a spool.
Gold rick-rack gave it some bling, and a few strings of wooden beads and some burlap mesh ribbon added more dimension.
At this point, I could stand back and check the lengths of my strips of various materials. Some were too long, and I discovered that it looked better if the middle was shorter, with each end gradually getting longer as it neared the end on both sides, forming sort of an arch over the door.
I added burlap strips, some of which had gold thread running through them, others had lace in the center, and some was just plain old burlap.
Finally, I discovered some really delicate, wide lace and laid it over the top of my knots, tying it with thin wire to keep it in place since I didn’t want to cut it up. This formed a type of valance over the garland.
You can use any length of strips, any material, any color for this project. If you can tie your shoes, you can do this, making this a great school project or a wonderful pastime for older people who are confined to their homes. Anyone of any age will enjoy the result. This is shabby chic at its best!
When you are finished the entire length of your base piece should be covered by your various strips. At this point you can add lights, a bow, a wooden initial or a special memento from your family.
The Cullman Tribune would like to see your completed project, and share it with our readers. When we have compiled a gallery of garland photos, we will invite our readers to vote for their favorite garland. The winner will receive a six-month subscription to the Cullman Tribune and a $25 gift certificate to Hobby Lobby. Voters should vote for only one garland. See our Facebook page for voting instructions.
Other materials and objects to add punch to your garland:
- Strips of boa feathers to a little girl’s garland
- The cut-away cuffs of men’s shirts, including the buttons
- Strips of denim from jeans, skirts and jackets
- Discarded bracelets, necklaces and broaches
- Heirloom buttons glued to strips of lace
- Beads of all kinds strung on thin wire
- Old baby clothes for nursery garlands
- Cords of all kinds, including jute
- Lengths of small chain
- Charms attached with glue or wire to strips of thin ribbon
Copyright 2016 Humble Roots, LLC. All Rights Reserved.


